
Can You Put a Tent in the Dryer Safely?
Can You Put a Tent in the Dryer Safely? Published February 4th, 2023 by Allen Campbell Well, it’s no secret that a tent is a

Allen is a full time writer at Mastercanopies.com and enjoys traveling around the United States and exploring nature. He enjoys writing about canopies as he believes they are extremely crucial in having a successful camping trip whether it be a trip to the beach, mountains, or the open plains.
Can You Put a Tent in the Dryer Safely? Published February 4th, 2023 by Allen Campbell Well, it’s no secret that a tent is a
How to Print on a Canopy: How to Print Custom Images/Logos Published February 4th, 2023 by Allen Campbell Do you want to print something special
How to Choose the Best Outdoor Event Flooring for your Next Celebration Published January 31st, 2023 by Allen Campbell Planning an outdoor event can be
How to Insulate a Tent for Winter and Keep Warm Published February 3rd, 2023 by Allen Campbell Is your tent the last frontier when it
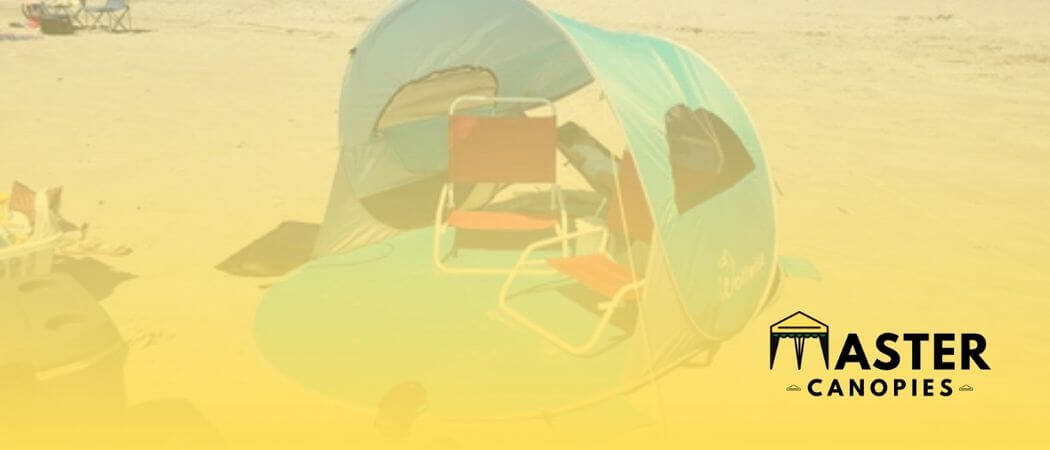
Wolfwise Beach Tent Review: Should You Buy It? Published January 23rd, 2023 by Allen Campbell Are you planning a beach vacation but don’t know exactly
How to Start a Tent Rental Business (and have Success with It!) Published January 23rd, 2023 by Allen Campbell Do you have a knack for
Wolfwise Beach Tent Instructions: Easy Setup Guide Published January 23rd, 2023 by Allen Campbell Let’s face it, setting up a beach tent can be tricky…
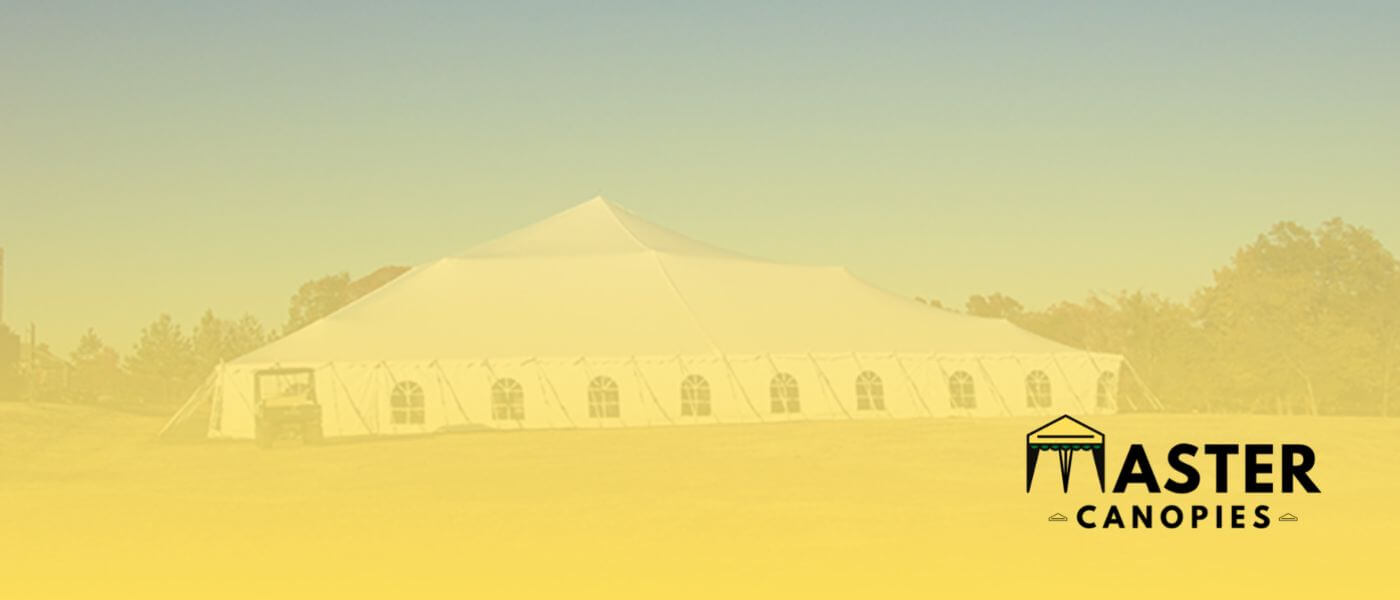
Best 100×100 Tents for Large Gatherings and Parties Published January 12th, 2023 by Allen Campbell Finding the right tent for your next event can be
Best Tent Rentals in Downers Grove, IL Published January 12th, 2023 by Allen Campbell Hoping to make a big impact in Downers Grove? Well, if