
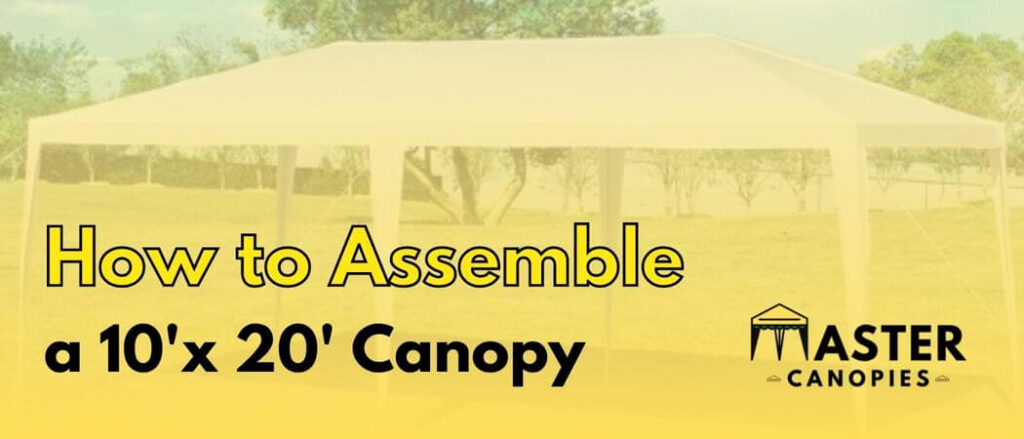
How to Set up a Tarp Canopy: Easy Tarp Canopy Assembly
How to Set up a Tarp Canopy: Easy Tarp Canopy Assembly Published August 12th, 2022 by Allen Campbell If you’re considering taking your camping game

Allen is a full time writer at Mastercanopies.com and enjoys traveling around the United States and exploring nature. He enjoys writing about canopies as he believes they are extremely crucial in having a successful camping trip whether it be a trip to the beach, mountains, or the open plains.
How to Set up a Tarp Canopy: Easy Tarp Canopy Assembly Published August 12th, 2022 by Allen Campbell If you’re considering taking your camping game
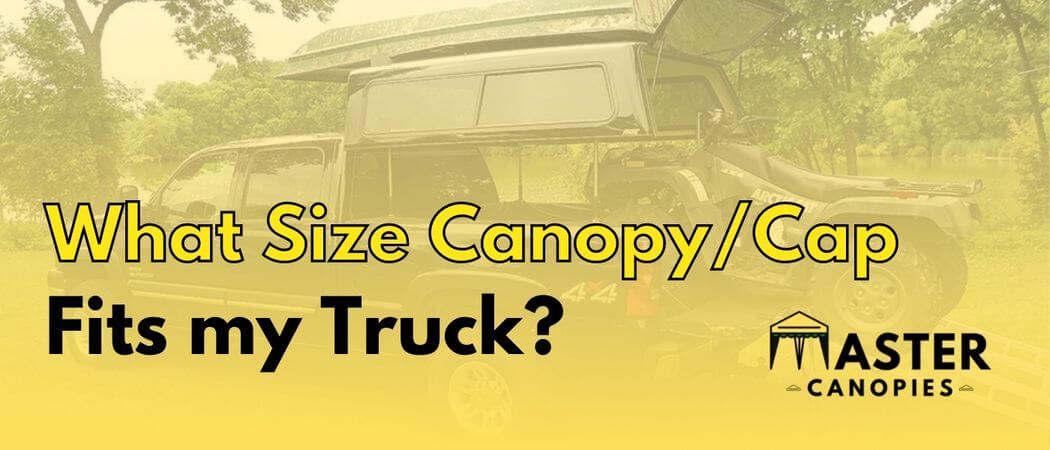
What Size Canopy/Cap Fits my Truck? Published August 4th, 2022 by Allen Campbell Planning on purchasing a canopy for your truck? It’s necessary to pick
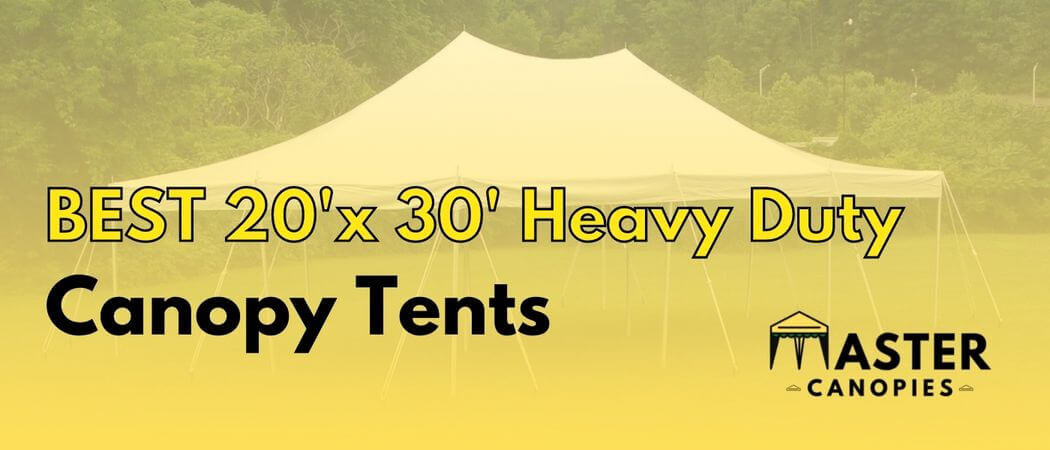
Best Heavy Duty 20×30 Canopy Tents for Large Gatherings Published June 19th, 2022 by Allen Campbell If you are planning to host a large gathering,
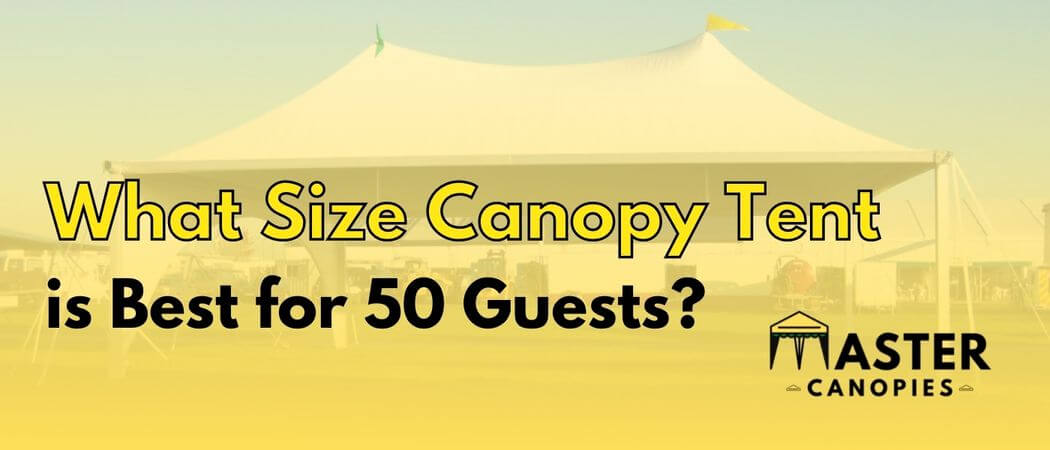
What Size Canopy Tent is Best for 50 Guests? – Ideal Canopy Tent Sizes Published June 19th, 2022 by Allen Campbell Choosing the right size

Crown Shades Canopy Review Published June 16th, 2022 by Allen Campbell I know it’s quite confusing to select between the best brand’s best products. Crown
Impact Canopy 10’x10′ Canopy Tent Gazebo with Dressed Legs Review Published June 16th, 2022 by Allen Campbell Getting the right pop-up canopy can undoubtedly be
MasterTent Canopy Tent Review Published June 10th, 2022 by Allen Campbell I recently got the opportunity to check out the MasterTent canopy tent and I
Coleman Instant Canopy Review: Should You Get This Canopy? Published June 4th, 2022 by Allen Campbell There are limited people in this world who don’t

Quik Shade Commercial Straight Leg Pop-Up Canopy Review Published June 4th, 2022 by Allen Campbell A pop-up canopy can bring a lot of convenience for