BEST Canopy Tent Repair Kits for Repairing Your Canopy Tent
BEST Canopy Tent Repair Kits for Repairing Your Canopy Tent Published September 9th, 2022 by Allen Campbell There’s nothing worse than being out in the


Allen is a full time writer at Mastercanopies.com and enjoys traveling around the United States and exploring nature. He enjoys writing about canopies as he believes they are extremely crucial in having a successful camping trip whether it be a trip to the beach, mountains, or the open plains.
BEST Canopy Tent Repair Kits for Repairing Your Canopy Tent Published September 9th, 2022 by Allen Campbell There’s nothing worse than being out in the
Best Beach Canopies for Ultimate Sun Shade: Top 7 Picks Published August 25th, 2022 by Allen Campbell Summertime is the best time of year. There’s
How to Stop Water Pooling on Canopy: Stop Water Buildup Published August 20th, 2022 by Allen Campbell Do you have a canopy that won’t stop
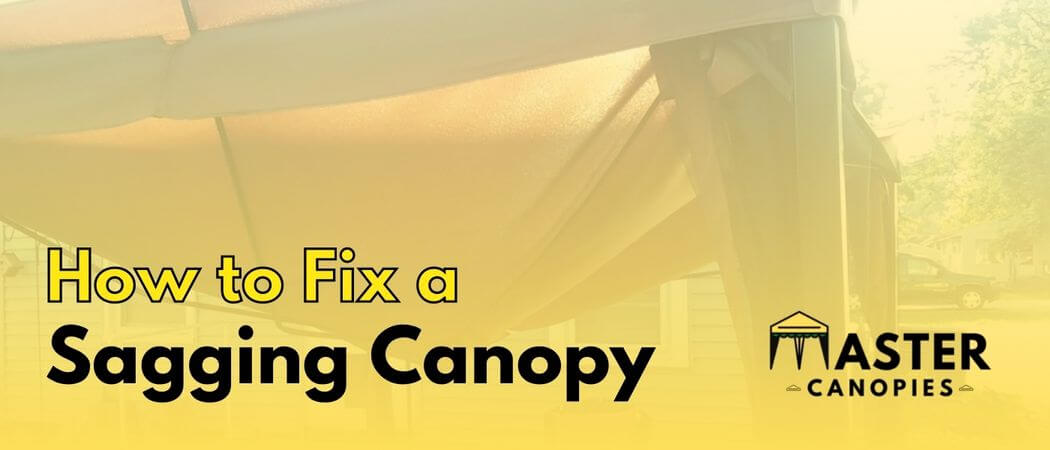
How to Fix a Sagging Canopy Tent Published August 20th, 2022 by Allen Campbell From summer camps to music festivals, canopy tents provide a shaded
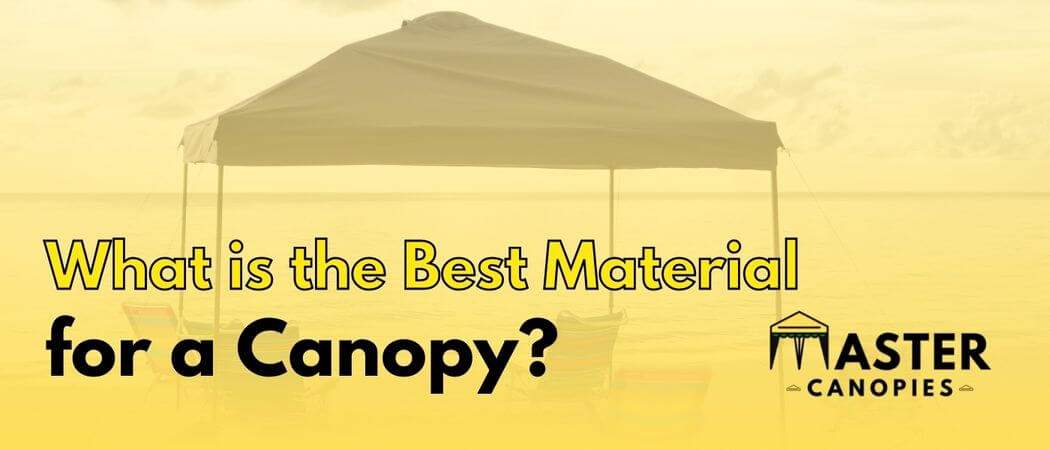
What is the Best Material for a Canopy? Published August 20th, 2022 by Allen Campbell At the time of choosing the fabric for your canopy,
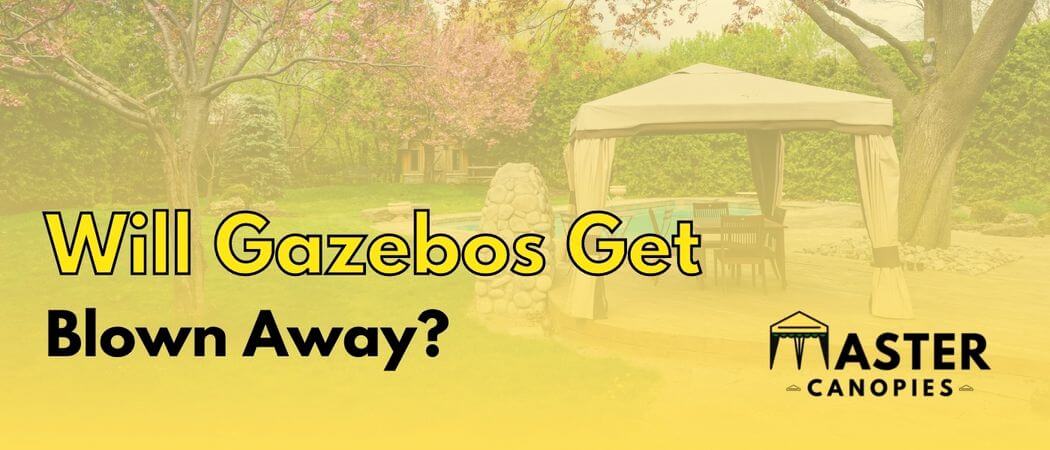
Will Gazebos Get Blown Away? How to Secure Your Gazebo Tent Published August 12th, 2022 by Allen Campbell Gazebos are a popular addition to yards
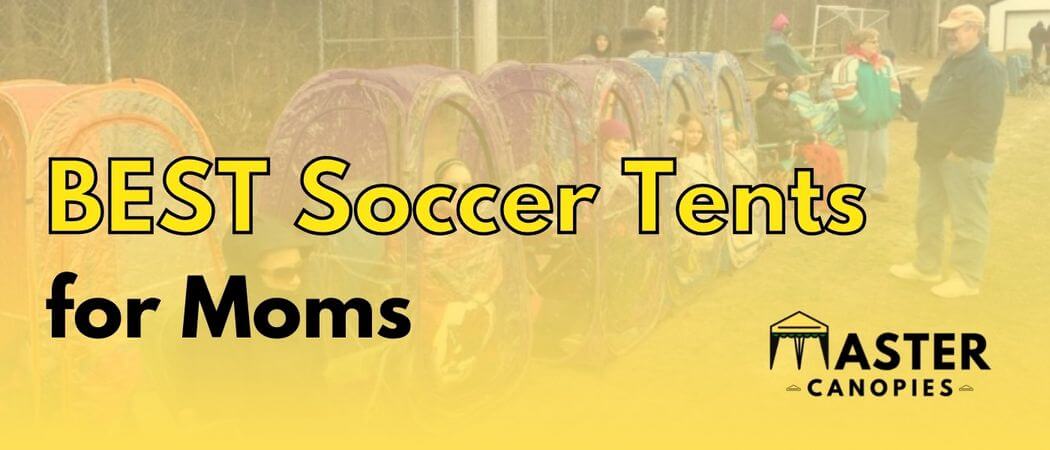
Best Soccer Tents for Moms Published June 20th, 2022 by Allen Campbell Have you ever gone to a soccer game and been so excited to
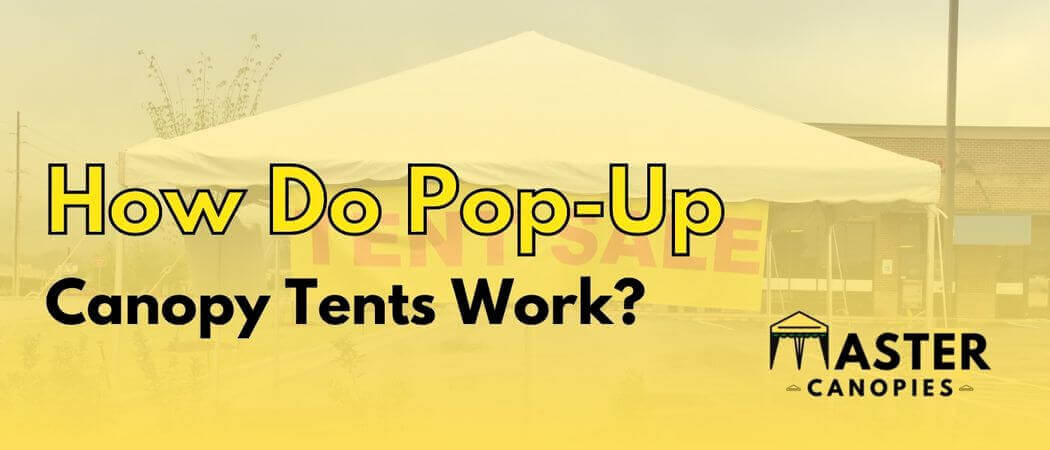
How Do Pop-Up Canopy Tents Work? Published June 14th, 2022 by Allen Campbell Do you like the suggestion of camping but despise the hassle of
How to Clean a Canopy Tent Published May 28th, 2022 by Allen Campbell If you’ve ever used a canopy tent, then you know that they