Quictent 10’x 10’ Canopy Tent Assembly Instructions: Full Guide
Quictent 10’x 10’ Canopy Tent Assembly Instructions: Full Guide Published September 8th, 2022 by Allen Campbell An easy-to-assemble canopy tent may be the ideal answer


Allen is a full time writer at Mastercanopies.com and enjoys traveling around the United States and exploring nature. He enjoys writing about canopies as he believes they are extremely crucial in having a successful camping trip whether it be a trip to the beach, mountains, or the open plains.
Quictent 10’x 10’ Canopy Tent Assembly Instructions: Full Guide Published September 8th, 2022 by Allen Campbell An easy-to-assemble canopy tent may be the ideal answer
Quictent 10’x 10’ Pop-Up Canopy Review Published September 9th, 2022 by Allen Campbell The Quictent 10’x 10’ Pop-Up Canopy is the perfect solution for anyone
Quictent 10’x 30’ Party Tent Assembly Instructions: Full Guide Published September 5th, 2022 by Allen Campbell Are you planning a party and need a place
Quictent 10’x 20’ Assembly Instructions: Full Guide Published August 31st, 2022 by Allen Campbell The Quictent 10’x 20’ is a versatile and easy-to-assemble shelter that
Quictent 10’x 30’ Party Tent Review Published August 30th, 2022 by Allen Campbell Anyone who has ever hosted a party knows that one of the
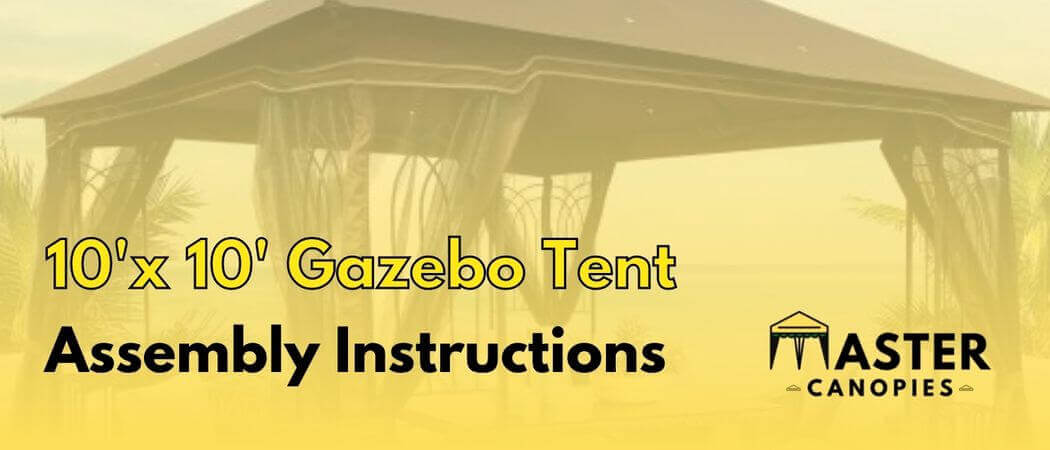
How to Assemble 10’x10’ Gazebo Tent: Assembly Instructions Published August 29th, 2022 by Allen Campbell A gazebo tent is a popular structure for outdoor events

Best Pop-Up Gazebos with Walls: TOP PICKS Published August 25th, 2022 by Allen Campbell A gazebo is a great way to add some extra living
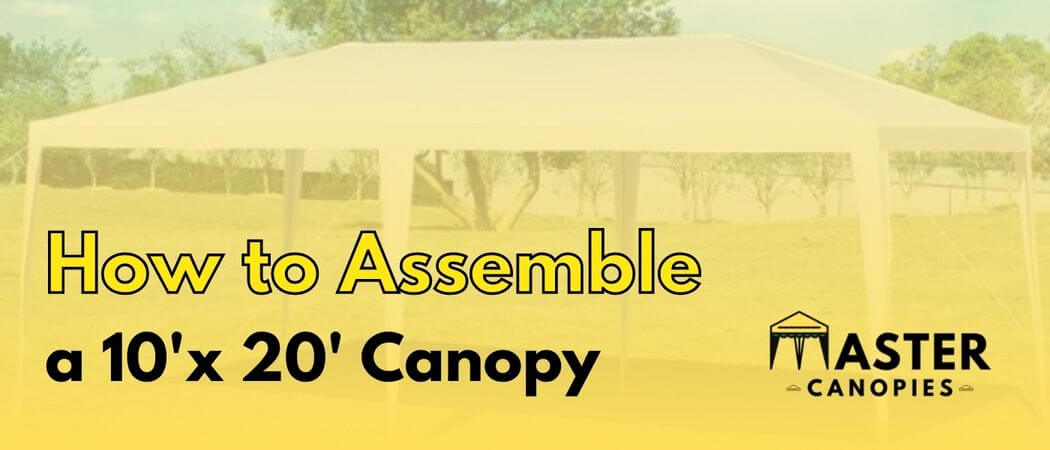
How to Assemble a 10’ x 20’ Canopy: Assembly Instructions Published August 16th, 2022 by Allen Campbell Planning an outdoor activity? A 10’ x 20’

Best Canvas Pergola Covers for Sun Shade Published August 13th, 2022 by Allen Campbell If you’re looking for some sun shade but don’t want to